M2Slim Install Guide
Step 7.2: Knife Cut
DISCLAIMER: Do not attempt this method unless you are comfortable using very sharp knives.
There is a real risk of serious bodily harm or permanent injury.By attempting this method you acknowledge the dangers involved.
Overview
This method can achieve an accurate and high quality cut in the PS2 shell without any expensive tools. However in addition to the risk of injuring yourself it is very time consuming and uncomfortable.Cutting for this guide took me over 6 hours across 2 days.I would generally advise against this method and instead use a coping saw and file. It would be faster and safer with equally good results.
Tips and notes:
Use a less brittle blade.My high sharpness AB and ABB Olfa blades were too brittle and provided no benefit cutting soft plastic. I found “SK5” blades much stronger. They required a lot more force to snap.If a blade breaks, the tip may become stuck in the cut and will need to be removed. I found it easiest to come in at 45 degrees and shave plastic from the waste side of the cut to dig it out. Try not to cut into the good side, you want to keep the finished visible edge as nice as possible.Expect to snap off many blade segments as you break them or they become dull. I used half of a 13 segment blade. I do not recommend hobby or craft knives for this reason as the tip will break easier and cost more to replace.Use a knife with a good locking mechanism, some are friction only and can be frustrating.Be patient, it took me several hours. Just getting through one side took me an hour.I have done this twice and gotten blisters both times. This is probably due to using too much pressure (I was impatient) and not using an ergonomic knife.Support the area under the cut. (Use something that won’t scratch the plastic)Show a diagram of the blade getting pinched (illustrator)Supporting the area should make cutting far more effective and faster. I only started doing it after I was almost finished but it felt a lot better.
General Knife Safety
DO NOT CUT WHILE TIRED OR OTHERWISE IMPAIREDHave a first aid kit ready and accessible.Always stay out of the path of the blade.
- Any pressure you apply to the blade can suddenly be released if the blade or plastic breaks or you simply cut through the material unexpectedly.
Tools:
Required:
9mm snap off blade knife (olfa style)
Non-brittle blades - stainless steel or “SK5”
Hot glue gun
4mm Drill bit
6mm Drill bit
Recommended:
Sheet metal nibbler, Dremel or coping saw for bulk plastic removal.
Large drill bit (for nibbler or saw pilot hole)
Metal calipers with locking function to scribe marks
Step 7.2.1 Align shell cut jig
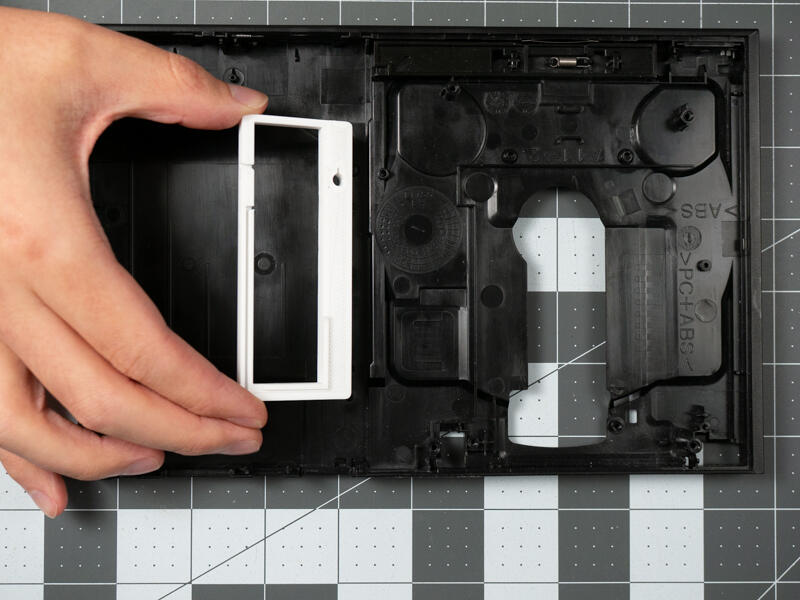
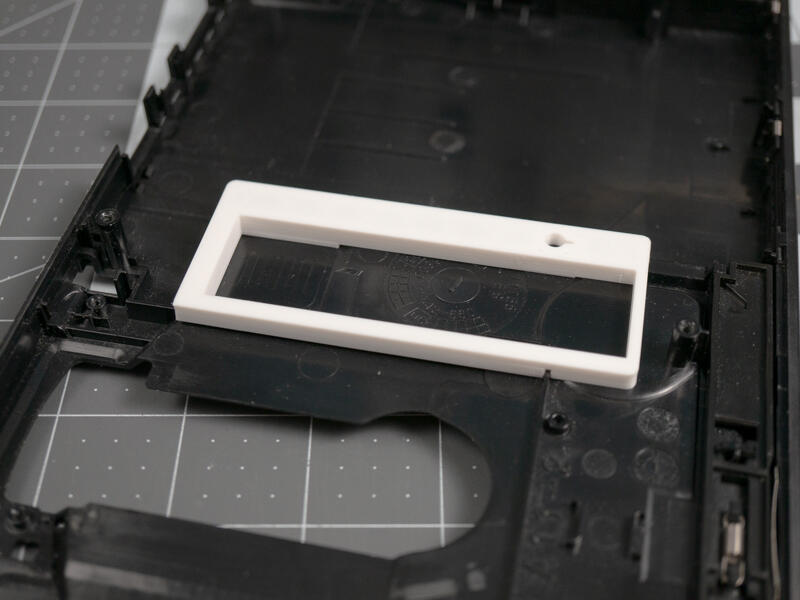
Line up the hole and groove with the features shown on the top shell.
There should be minimal play once the jig is aligned into place.
Step 7.2.2 Secure jig to shell
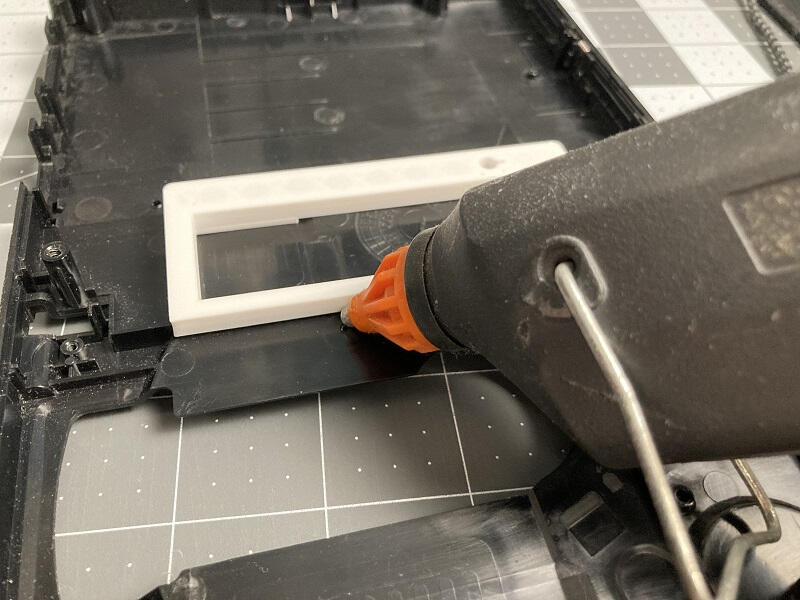
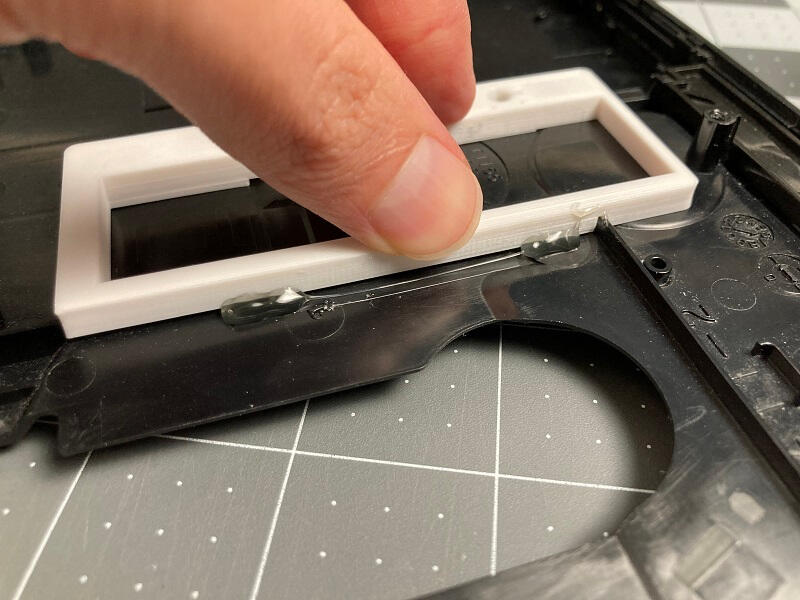
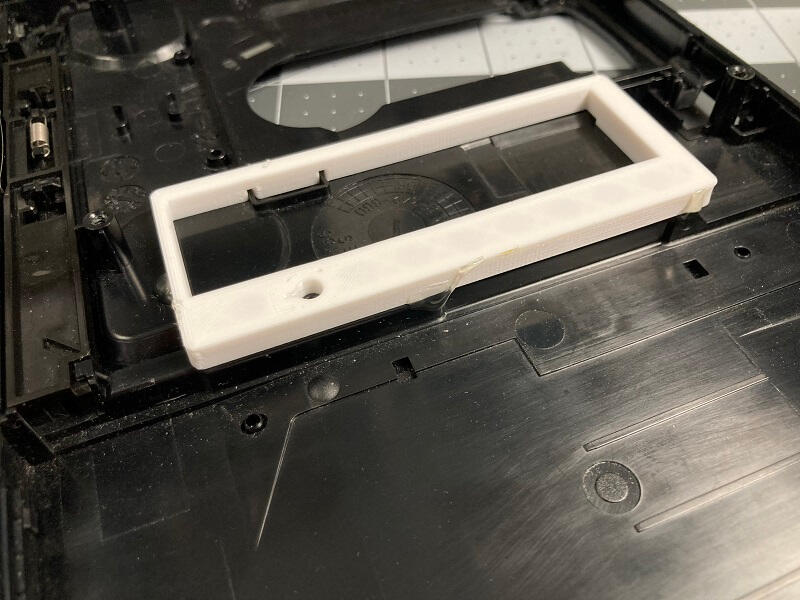
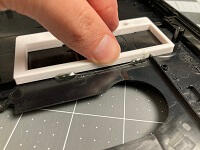
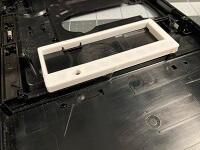
Use a temporary adhesive such as hot glue to secure the jig while cutting.
Hold the jig in place to ensure it remains seated and aligned properly while the adhesive sets.
Place glue on the other sides.
Don't go overboard as you will need to remove the glue later.
Step 7.2.3 Establish the guide cut
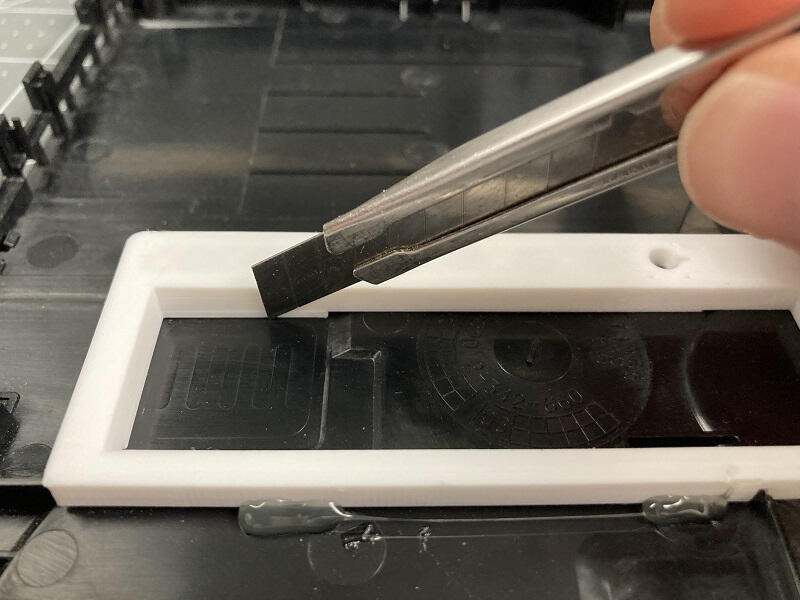
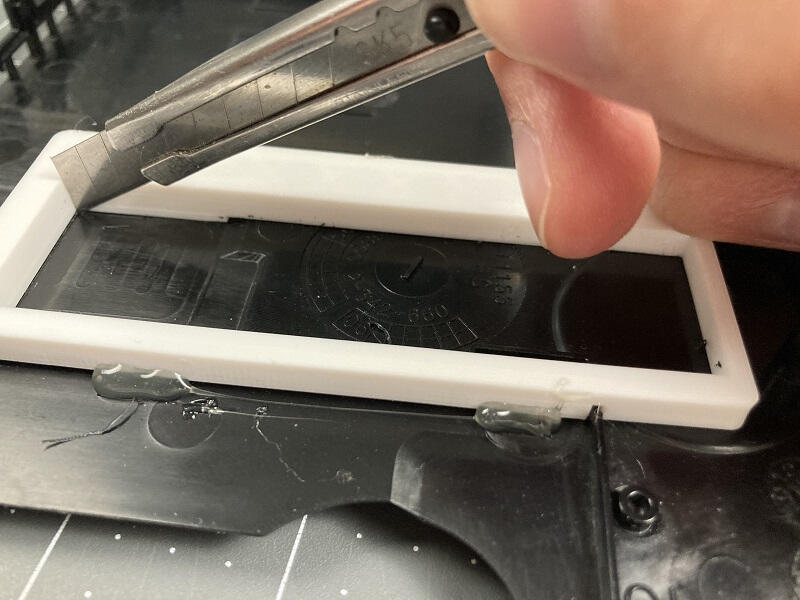
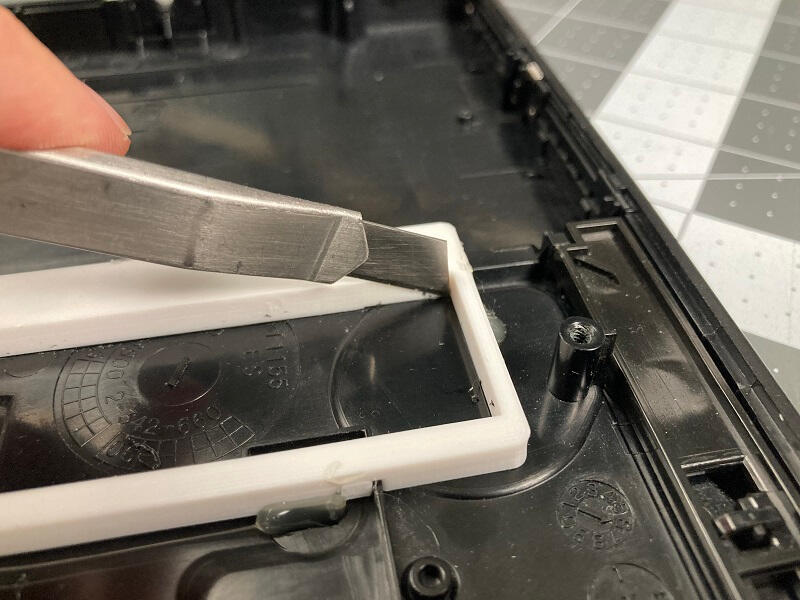

Keeping the blade aligned vertically and pressed up against the jig make light passes along each side until you create a small groove.
Make sure you get into each corner. This will take several passes.
The goal is to create an accurate guide groove that the blade will easily follow.
Do not use excessive force as it both increases the chance you will slip and makes the resulting cut harder to correct.
Step 7.2.4 Remove jig to continue cutting
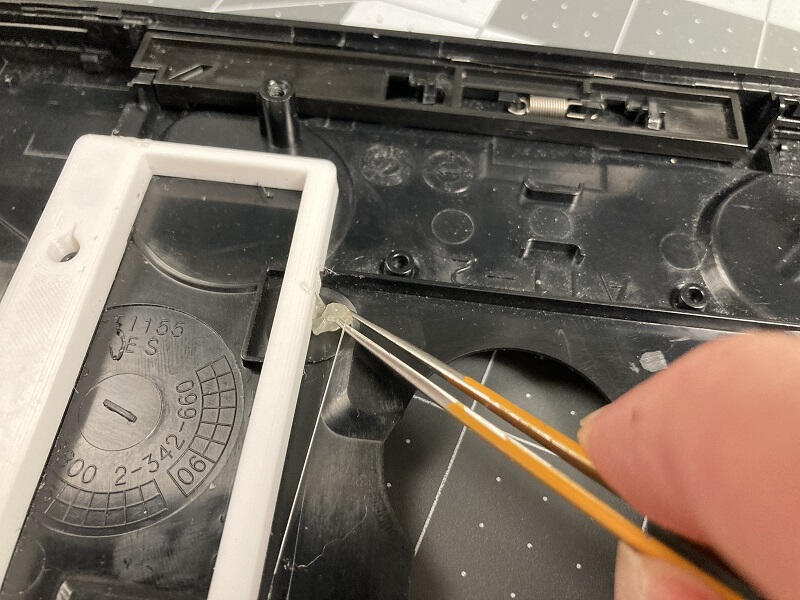
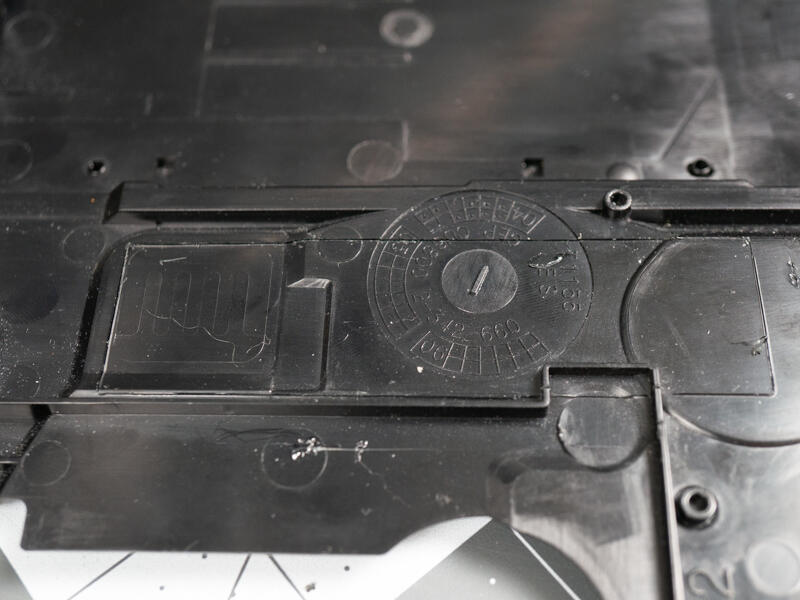
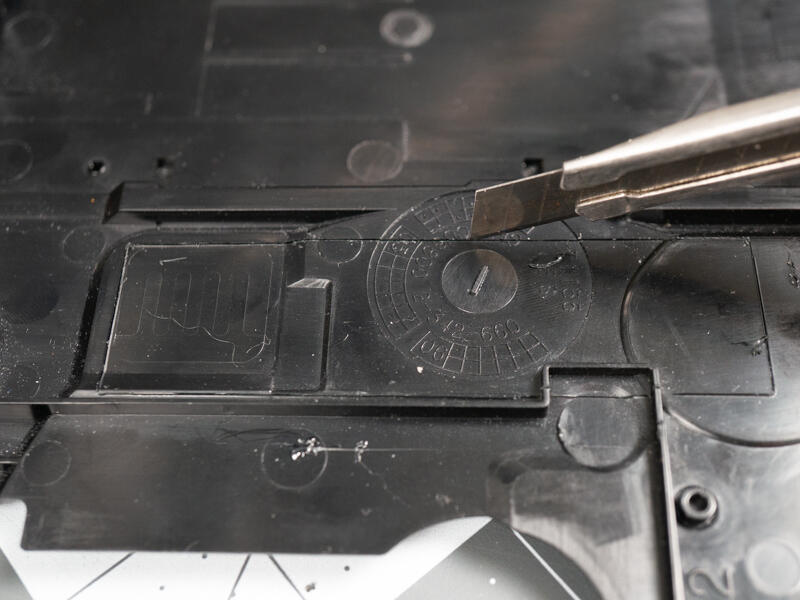
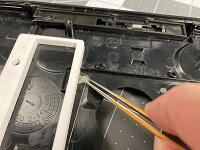
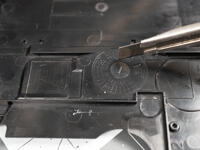
Once the cut is ~1mm or cutting becomes too difficult you may remove the jig to continue cutting.
The cut should be deep enough for the blade to easily follow.
Step 7.2.5 Remove the obstructing rib
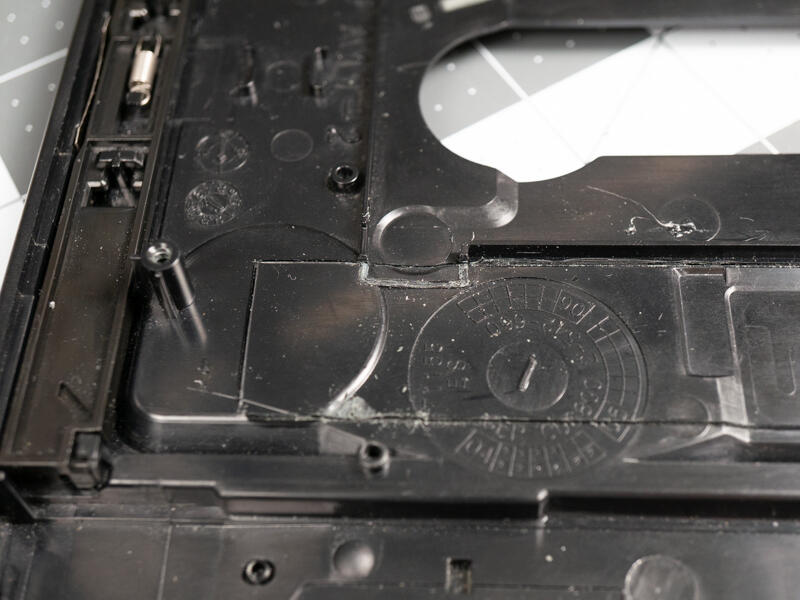
Using flush cutters or a blade carefully remove the structural rib to make cutting easier.
Step 7.2.6 Trapped in the cutting dimension
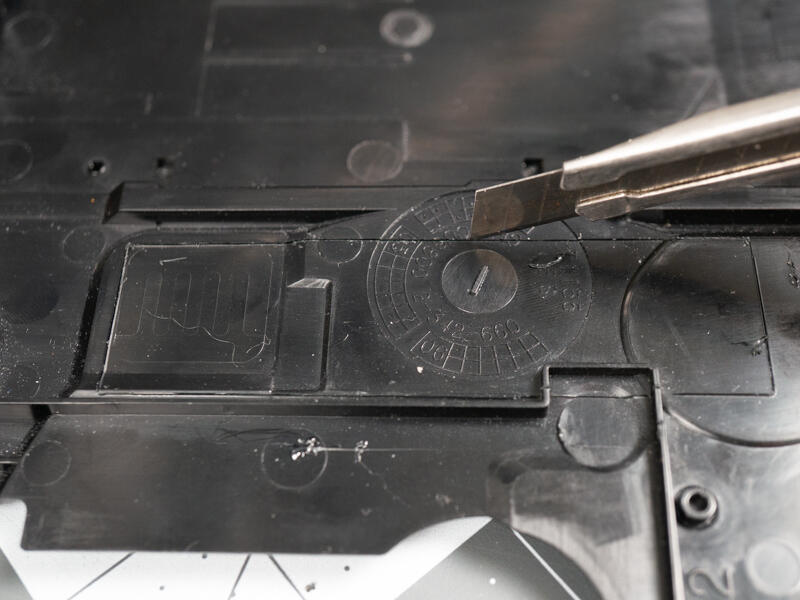
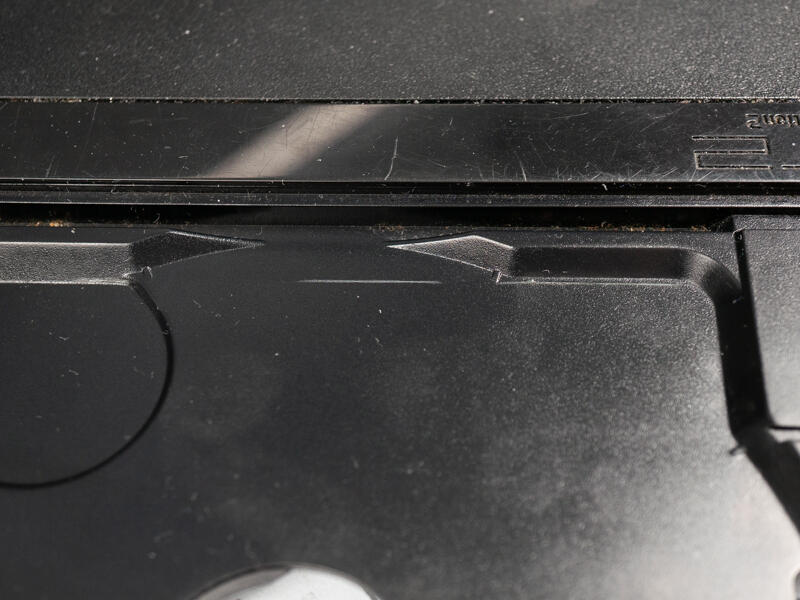
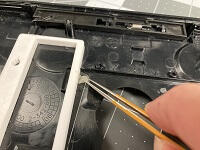
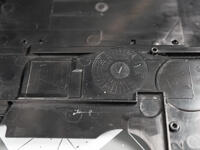
Continue cutting until you start seeing grey marks on the other side. The plastic varies in thickness so some areas will be much quicker than others.
Continue to the next step once you see grey lines on on the complete perimeter on the underside of the cut.
Using a backing material to support the underside of the cut will greatly improve the cutting effectiveness.
Step 7.2.7 Drill cutout for M.2 standoff
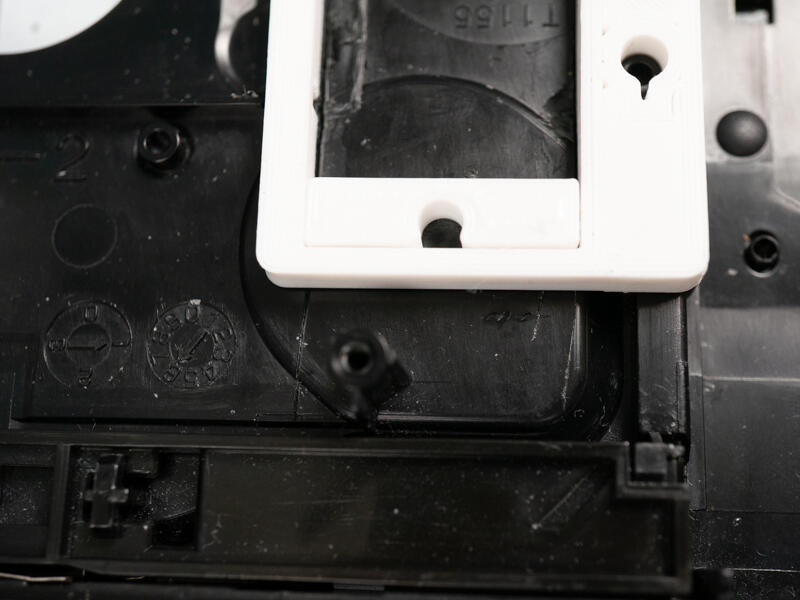
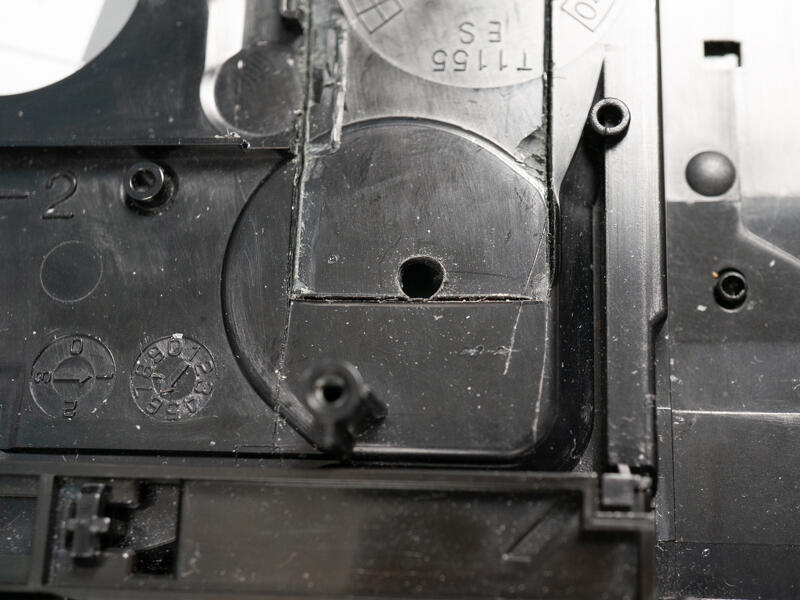
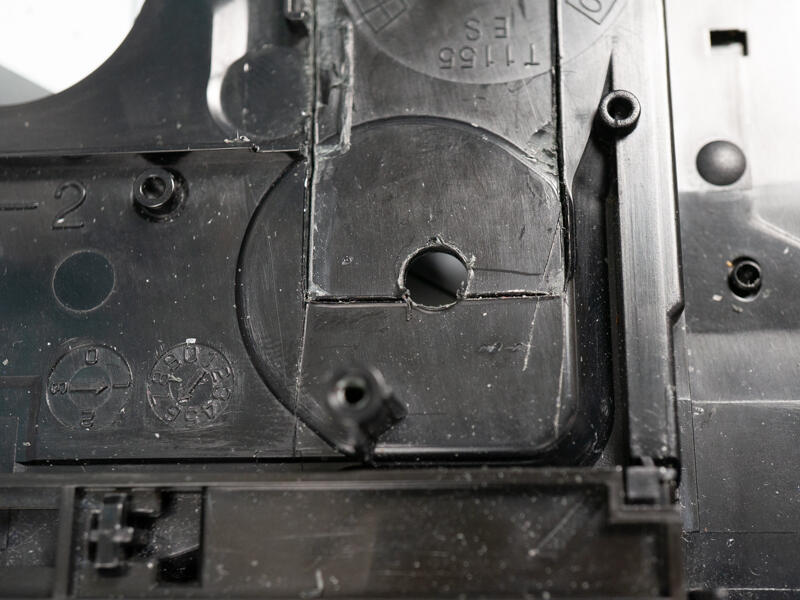
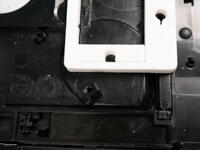
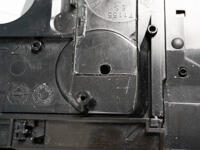
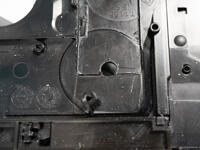
Attach the jig to the shell and insert the plastic drill insert as shown.
Start drilling a 4mm pilot hole into the plastic.
You may wish to hold everything together with hot glue. I just held everything by hand.
I found it easiest to make a small marking, remove the jig and continue drilling.
Widen the hole using a 6mm drill or slightly larger if you want more clearance with the M.2 mounting standoff.
Step 8.2.8 Remove plastic from cutout area
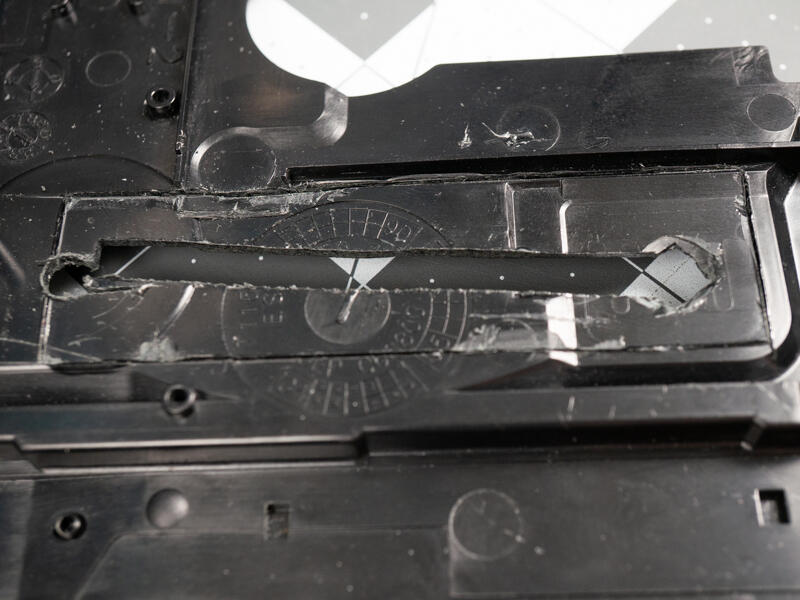
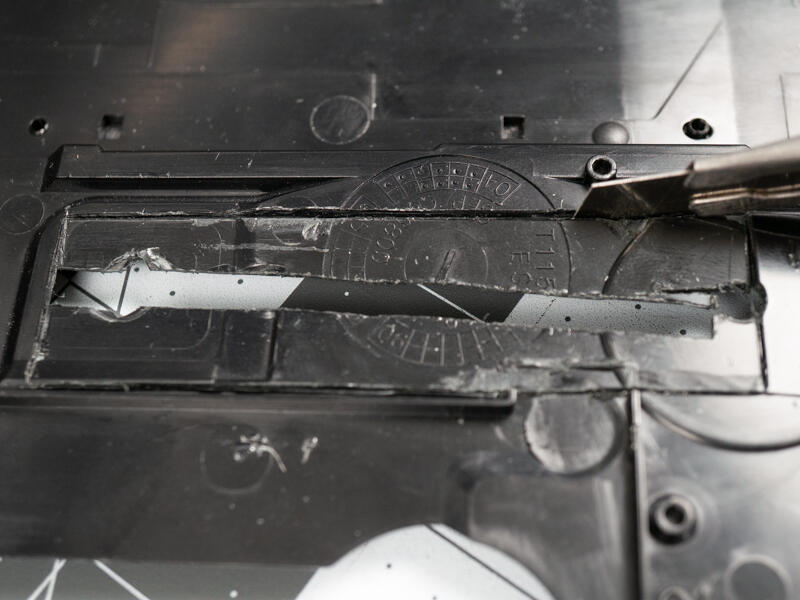
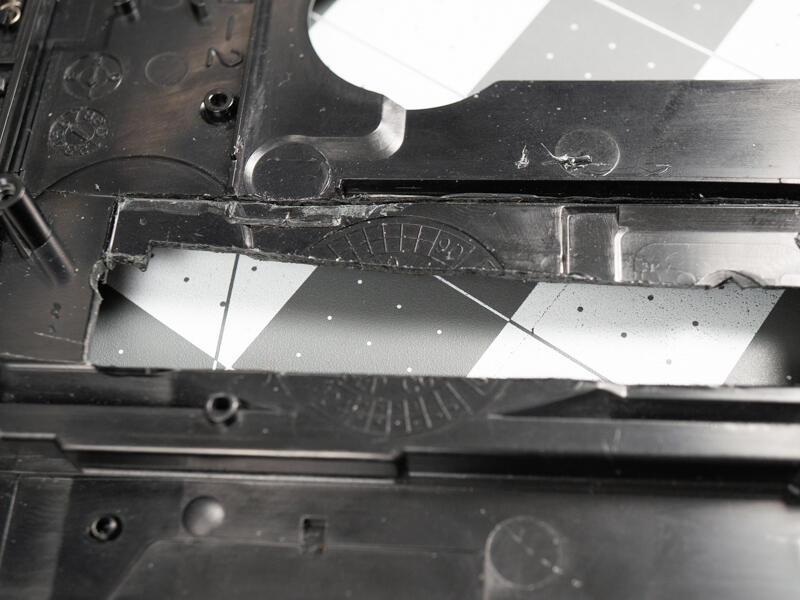
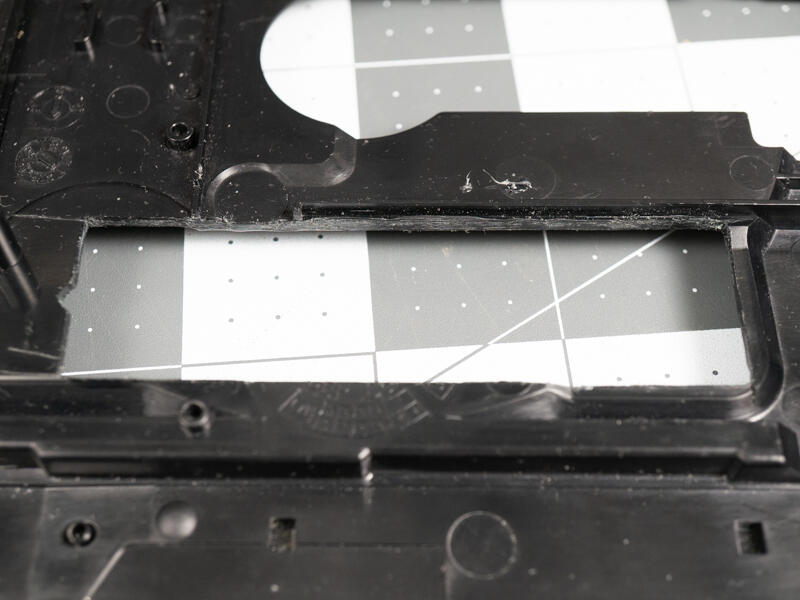
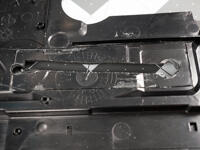
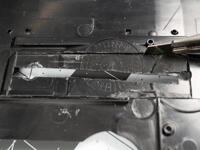
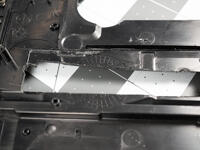
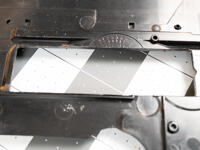
It is recommended to make a rough internal cut in the plastic to assist in removal and to help prevent tear out on the visible side.
This can be achieved with any tools or methods you have on hand such as a dremel or coping saw.
The example pictures show the results of using a nibbling tool that was inserted into a large pilot drill hole.
Including breaks the previous step and this one took over 5 hours.
Step 7.2.9 Remove the reinforcing rib

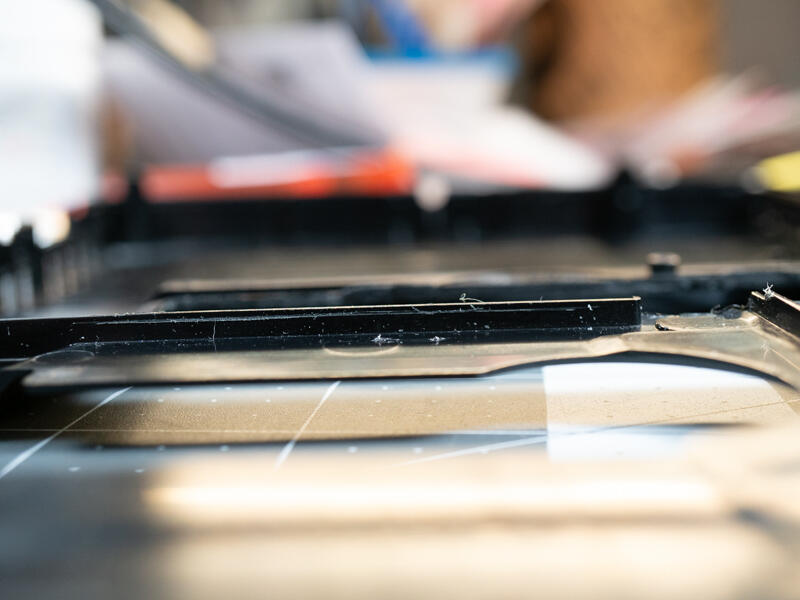
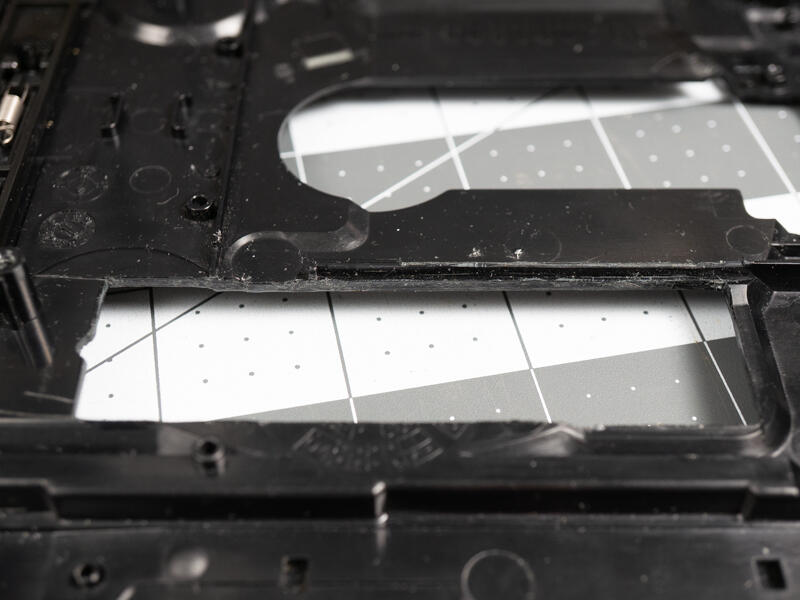
Trim the plastic rib that was used for jig alignment to make space for the M2Slim board when assembled.
I removed 1mm of plastic here but 1.5mm would be better for clearance. This rib lies directly on top of the solder joints of the adapter board and flex PCB.
You can remove the entire rib but it will make the area noticeably less rigid. It does not matter but I prefer to leave as much as possible.
Step 7.2.10 Deburr and clean up edges.
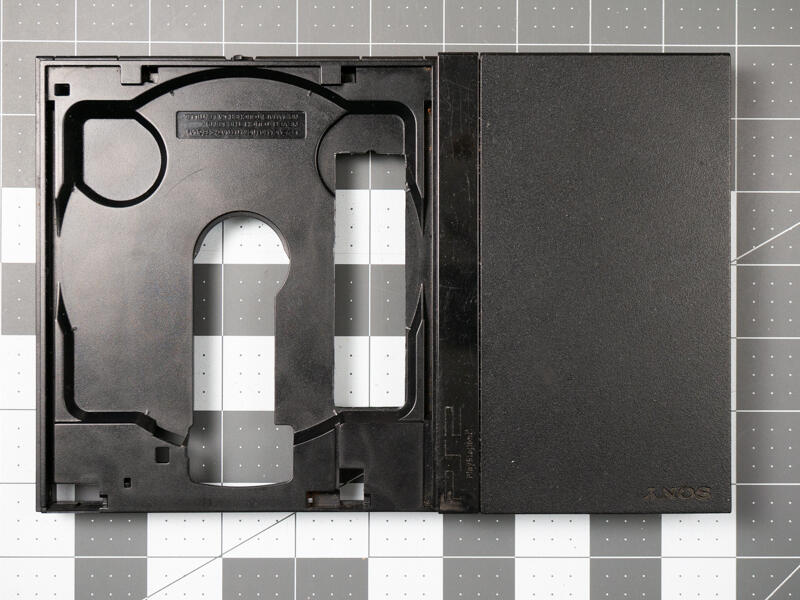
Round over the edges of the cut with a tool or trim them with the blade.
Step 7.2.11 Admire your work
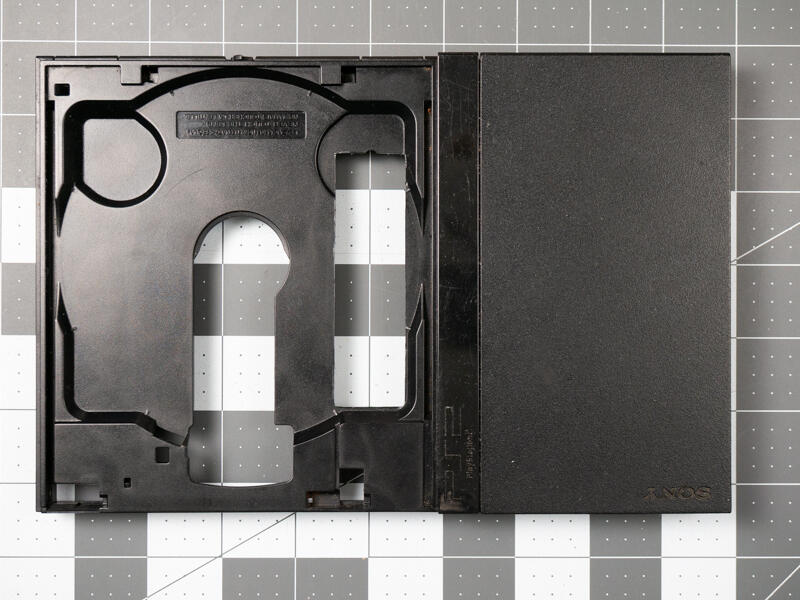
Congratulations!